
Auto Cluster Tool
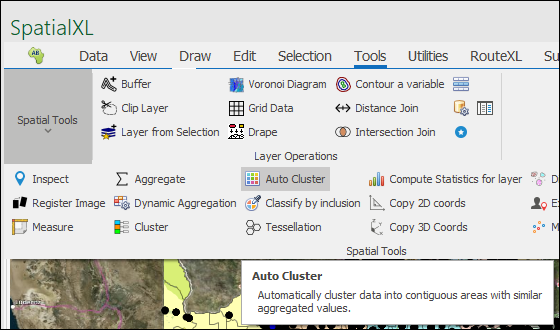
❖The Auto Cluster Tool is a tool that allows you to automatically cluster data into contiguous areas with similar aggregated values. It is found in the following location in SpatialXL:
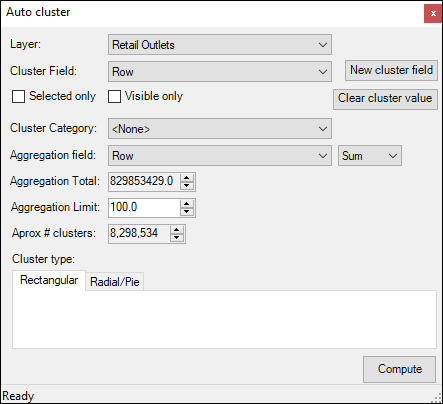
❖Once you have selected this tool the following dialogue box will come up:
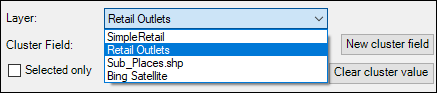
❖In the Layer field choose the layer that you would like to do the auto clustering on:
❖The Cluster Field is the field in your layer data within which the cluster values will be populated, you can choose an existing field in your data or select to create a New cluster field in your data where the values will be populated:

Once you have selected to create a New cluster field the following box comes up and here you enter the name of the new field:
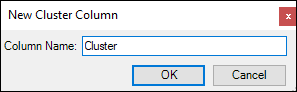
Click OK when done.
❖In the Cluster Category field is where you can choose a field in your data with values that you would like to cluster within; it ensures that all clusters created have the same category. For instance you might choose the Province field in your data so that each cluster is composed only of points from that province and that the clusters do not cross over in this respect, in my example I will not choose any cluster category:
![]()
❖The Aggregation field is the field within your data that you would like to aggregate on in creating your clusters; the aggregation can be a Sum or Count:
![]()
❖The Aggregation Total field is the total resulting number of the aggregation of whatever field it was you chose to aggregate on:
![]()
❖The Aggregation Limit field is the number limit at which the tool will be then forced to make another cluster, e.g. if you are clustering on total revenue from each outlet in your data then you can choose that 100,000 is the aggregation limit meaning once any number of stores clustered together reach more than 100,000( of total revenue) then a new cluster will have to be made after that:
![]()
❖Aprox # clusters is the approximate number of clusters that the tool has worked out can be created from your data, you can of course change this like you can change everything else:
![]()
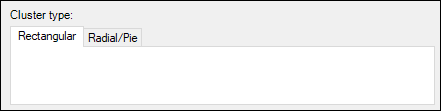
❖You can then select whether you want your clusters arranged in a Rectangular way:
Or if you want them arranged in a Radial/Pie manner:
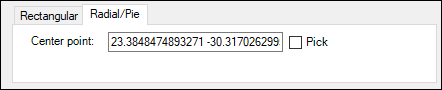
You can type in the coordinates of the point in your scene that you want as the center point or you can check the Pick box and then just select the point on your scene.
❖Now click Compute:

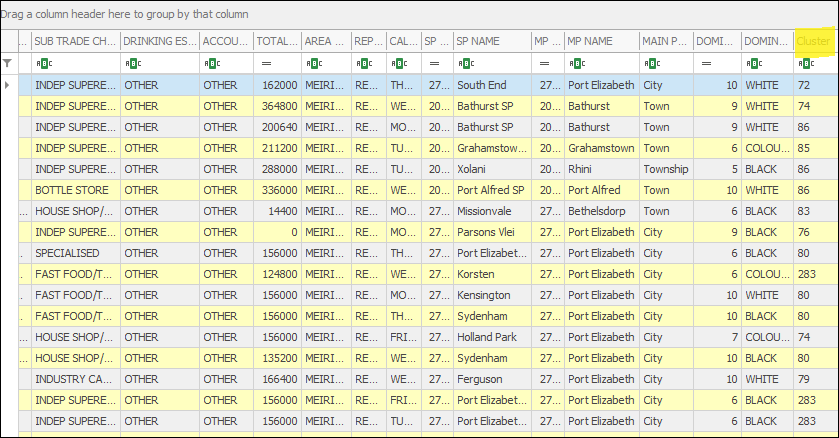
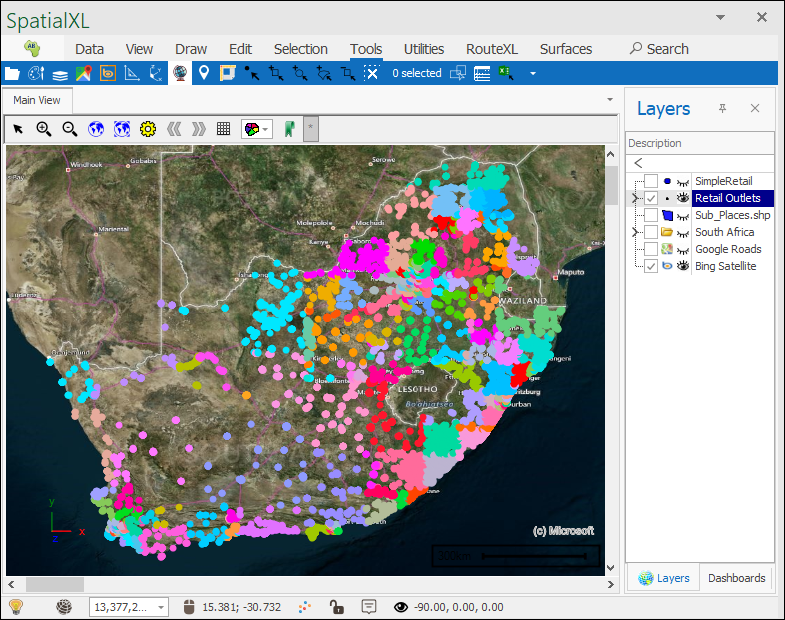
❖Your clusters have now been created and can be viewed in the layer data grid for the layer:
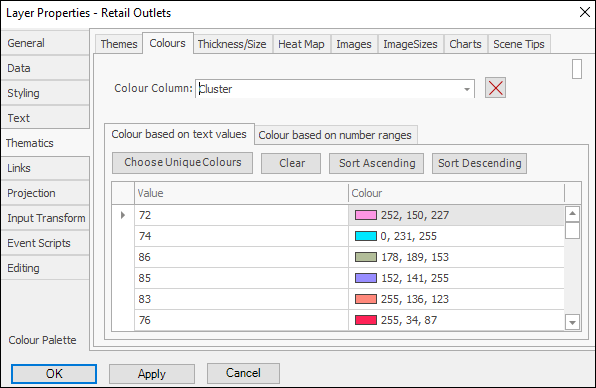
By then going into Properties for that layer you can set some Thematics on the clusters and so be able to view them in your scene:
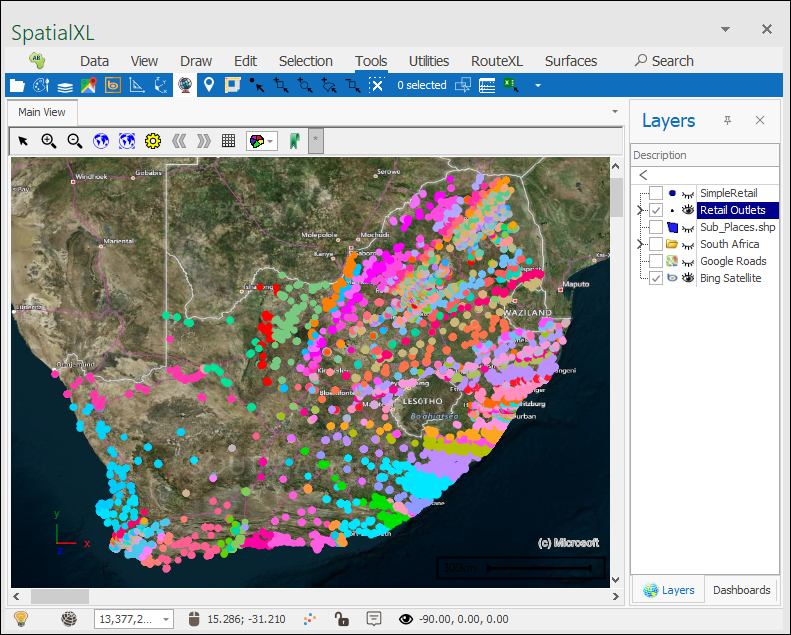
Just for illustration here is how the clusters would’ve looked like if I chose to arrange them in a radial/pie manner:
Your clusters can be seen in the Layers Description box by clicking the little arrow next to the layer on the left:
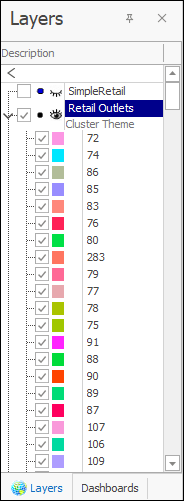
They can then be ticked on or off on your scene:

❖If you would like to auto cluster selected points only then you would first select these points on the scene using one of the selection tools:
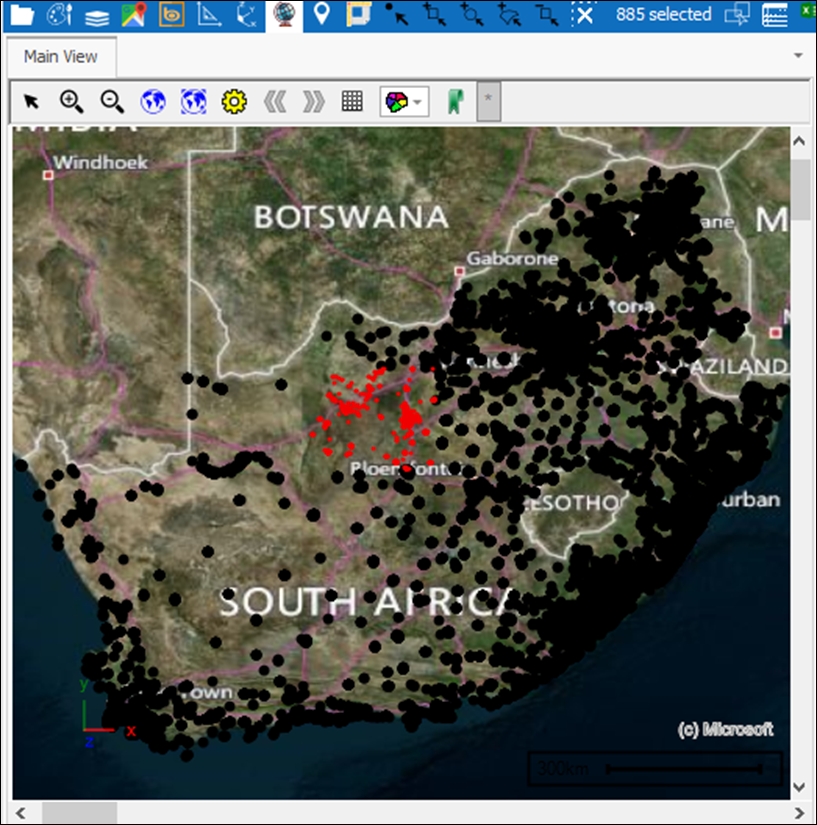
Then you would have the Selected only box ticked on in your Auto Cluster tool:
![]()
If any of your points are set as hidden and you would like to auto cluster the visible points only then you would have the Visible only box ticked on:
![]()
❖The Clear cluster value button will set all the cluster values in your data to null; this would be used after you had already auto clustered:
![]()
